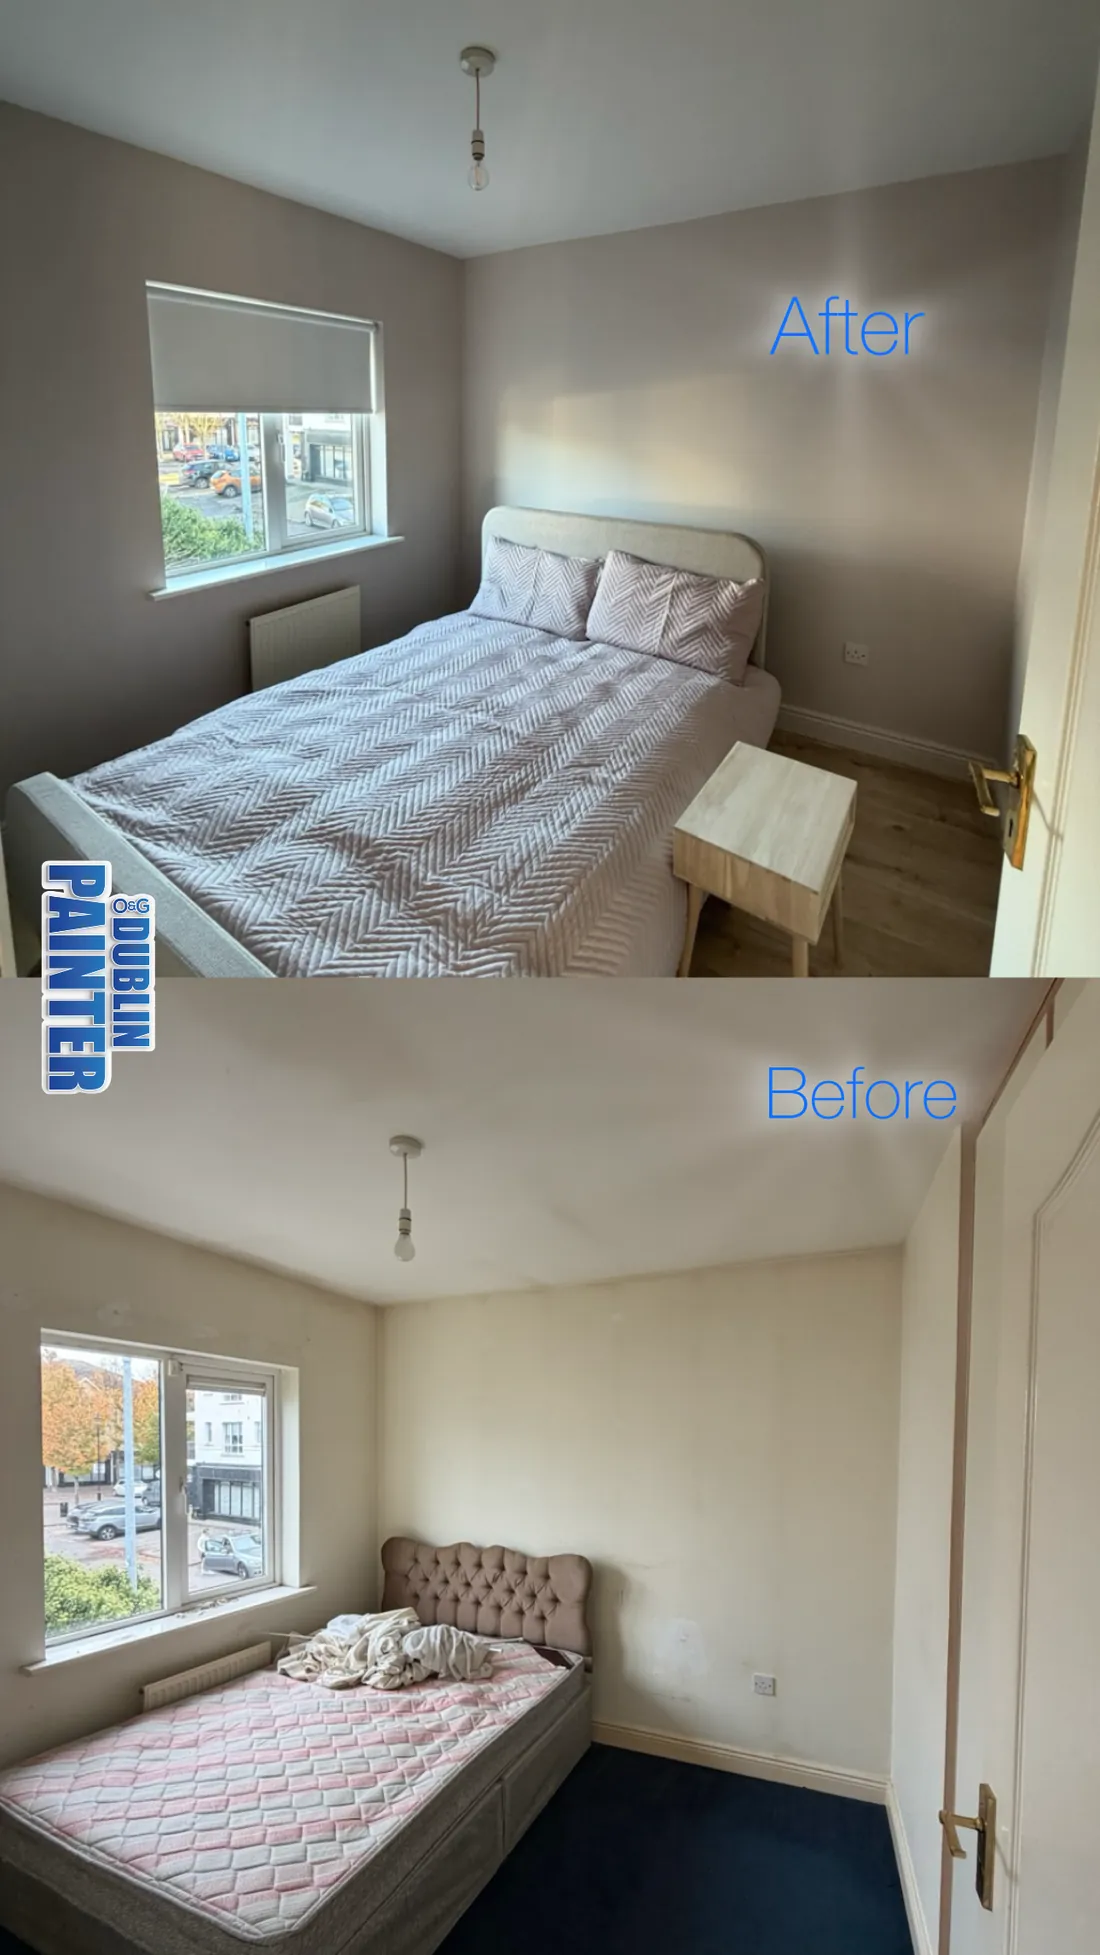
There is real satisfaction in picking up a brush yourself. A tin of paint is one of the cheapest ways to completely change how a room feels, and doing the work with your own hands makes the result feel personal. But painting is one of those jobs that looks simpler than it is — the gap between an amateur finish and a professional one comes down to a handful of decisions made before the lid ever comes off the tin.
After more than 20 years painting homes right across Dublin, we have been called in to rescue plenty of well-meaning DIY jobs that went sideways. The frustrating part is that almost all of them failed for the same five reasons. This guide walks through the five DIY painting mistakes we see again and again, why each one causes problems, and exactly what to do instead so your weekend project actually lasts. None of it is complicated — but every point below is one we have personally been called out to fix, so it is worth reading before you start rather than after.
Why DIY Painting Has Taken Off
More homeowners than ever are tackling their own decorating. Between the endless supply of online tutorials, the pride of finishing a job yourself, and the money saved versus hiring a tradesperson, it is easy to see the appeal. Home improvement shows and social media have only added fuel — everyone has watched someone transform a tired room in a single afternoon and thought, I could do that.
And often you can. A fresh coat genuinely does lift a space, shift its whole mood, and let you stamp your own personality on your home. It is also one of the highest-return jobs you can do when you are preparing a property for sale, which is why so many Dublin homeowners reach for a roller before putting a house on the market. Colour has a real psychological effect on how a room feels, and the right palette can make a small room breathe or a cold room feel warm.
The catch is that a DIY paint job carries risks as well as rewards. Get the preparation or the product wrong and you can end up spending more time and money fixing the finish than a professional would have charged in the first place. So before you commit a weekend to it, it is worth knowing where things typically go wrong.
The 5 Most Common DIY Painting Mistakes
Here is the short version — the five errors that undo more Dublin DIY paint jobs than anything else. We will unpack each one below.
- Poor planning — underestimating the job and starting without the right materials to hand.
- Skipping surface preparation — no cleaning, filling, sanding or priming, so nothing bonds properly.
- Using low-quality paint — cheap tins that give poor coverage and fade or peel far too soon.
- Incorrect painting techniques — the wrong brush, roller or method, leaving drips, streaks and patchy coats.
- Lack of patience — rushing coats and ignoring drying times, which wrecks adhesion and finish.
Avoid these five and you are most of the way to a finish you can be proud of. Let’s look at each in detail.
Mistake #1: Poor Planning
A good paint job is decided before you open a single tin. Weak planning is the most common trap of all, and it quietly creates every problem that follows — running out of paint halfway through a wall, discovering you have no filler when you find a crack, or realising at 8pm that the shade dries far darker than the sample suggested.
Underestimating the Scope of Work
Most DIYers badly misjudge how big the job actually is. Before you buy anything, walk the room properly and take stock of it: the size of the space, the state of the walls, the number of windows and doors to cut in around, and any awkward details like coving, picture rails or radiators that will slow you down.
Then be honest about the time. A single room is rarely a one-afternoon job once you count prep, cutting in, two coats and clean-up — and each coat needs proper drying time in between. Build a realistic timeline that has slack in it for the surprises that always turn up, like a patch of damp behind the wardrobe or a wall that drinks the first coat and needs a third.
If you are weighing up whether to do it yourself or bring in help, sizing the job accurately also makes it far easier to judge a painter’s quote and know you are comparing like with like. Our own on-site quotes are free and no-obligation, so it costs nothing to get a professional read on the scope before you decide.
Failing to Gather the Right Supplies
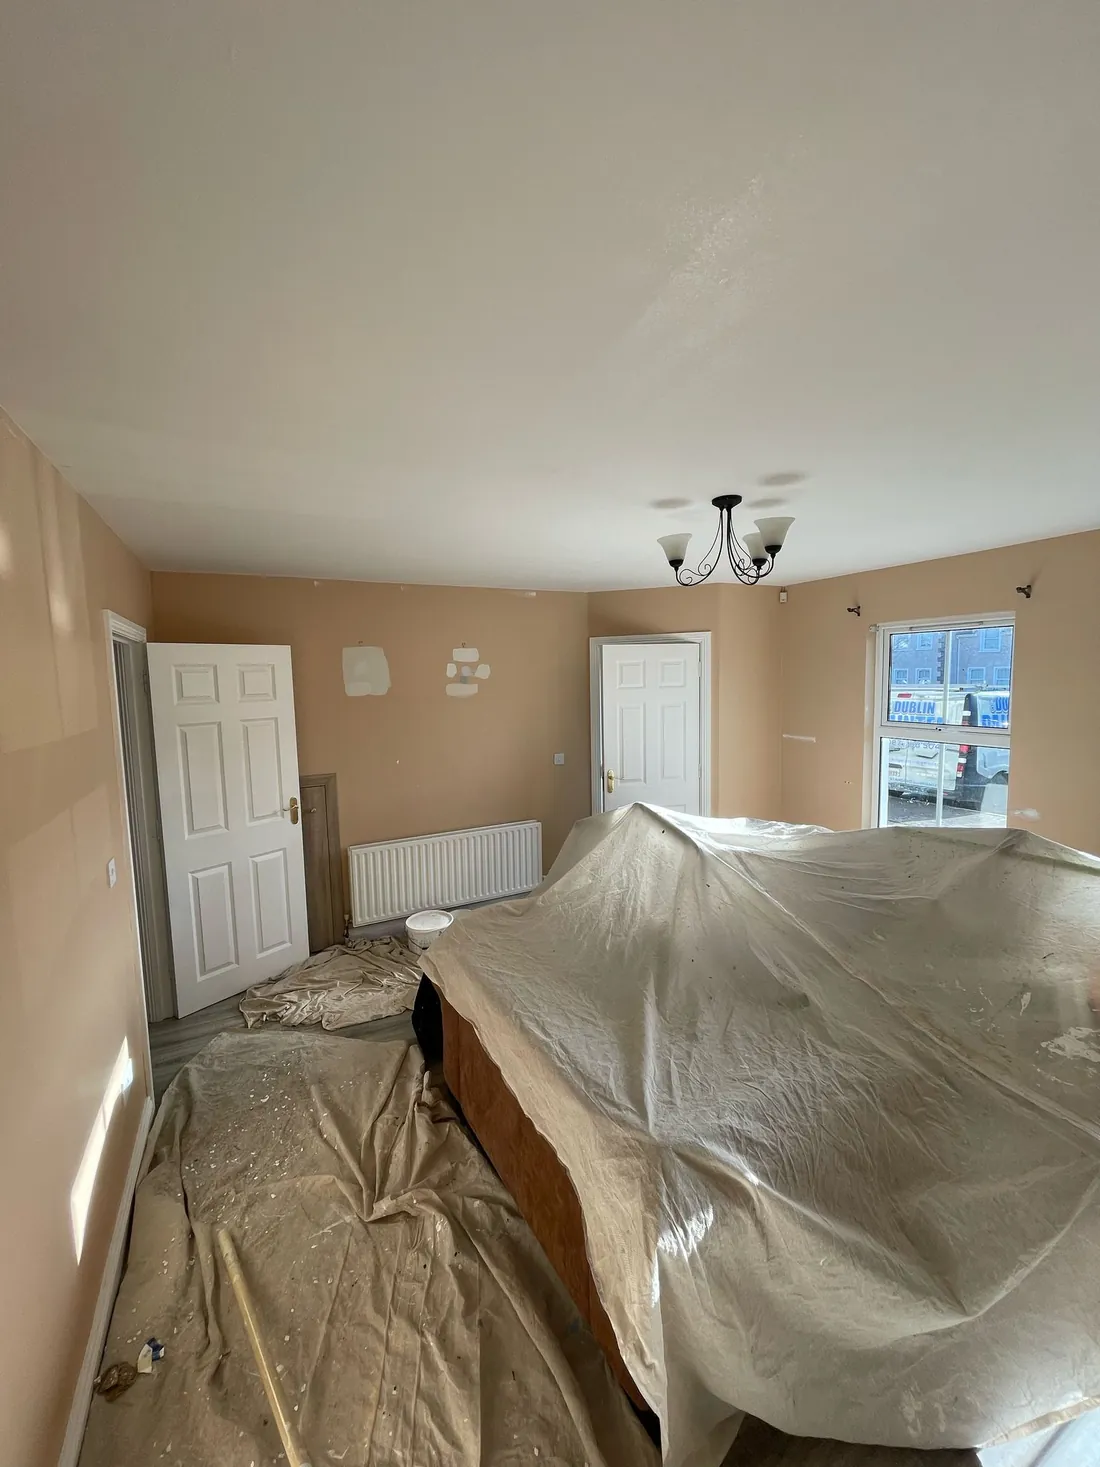
The second half of planning is having everything you need before you start — and that means more than just the paint. Primer, brushes, rollers, painter’s tape, dust sheets, filler, sandpaper and a scraper all need to be sitting there ready. Nothing kills momentum like a half-painted wall and a trip to the shop.
The most common shortfall is not buying enough paint. As a rough guide, one litre of emulsion covers roughly 12 square metres per coat (the old imperial rule of thumb is about one gallon to 350 square feet), but a bare or previously dark wall will swallow far more. Always buy a little extra for touch-ups and to guarantee your second coat comes from the same batch — colour can vary subtly between mixes.
Here is a basic supply checklist for a standard room repaint:
| Supply | Quantity | Purpose |
|---|---|---|
| Paint | Based on the wall area in m² | Main colour, two coats |
| Primer / undercoat | Similar to the paint | Base coat for adhesion and even colour |
| Brushes | At least 2 | Cutting in and detail work |
| Rollers | At least 2 | Covering larger flat areas |
| Painter’s tape | Enough for all edges | Protecting trim and getting clean lines |
| Dust sheets | Enough to cover floors and furniture | Guarding against splashes and drips |
| Filler & sandpaper | As needed | Repairing cracks and smoothing walls |
Plan the scope and the supplies properly and you have laid the foundation for the whole project. Whether you press on solo or bring in a professional, this is the step everything else stands on.
Mistake #2: Skipping Surface Preparation
If we could hammer home one message to every DIY painter in Dublin, it would be this: the paint is the easy part — the preparation is the job. Skipping prep is the single fastest way to turn a fresh coat into a peeling, patchy mess a few months down the line.
Why Cleaning and Priming Matter
Every lasting paint job starts with a clean, sound, properly primed surface. Cleaning strips away dust, grease and kitchen or cooking residue that stop paint from gripping. Priming then gives you a uniform, sealed base that helps the topcoat adhere, spread evenly and last.
Primer earns its keep especially when you are covering stains, patchy repairs or making a big colour change — say going from a deep feature-wall shade back to white. It seals and blocks stains and odours from bleeding through, and it adds a layer of protection against moisture, which matters in Dublin’s damp climate. Skip it and you invite blotchy colour and premature flaking.
What Happens When You Skip the Prep
Cut corners on preparation and the consequences show up fast:
| Consequence | What it looks like |
|---|---|
| Poor adhesion | Paint that won’t grip, peeling and chipping within months |
| Visible imperfections | Old stains, filler patches or the previous colour ghosting through |
| Uneven colour | A blotchy, patchy finish that varies in depth across the wall |
| Reduced durability | A coat that can’t take normal wear, needing constant touch-ups or a full redo |
The fix is simple but unglamorous: give yourself proper time to wash down, fill, sand and prime before a drop of colour goes on. That patience up front is exactly what separates a finish that still looks sharp in five years from one you are repainting next spring. Prep well and everything after it becomes easier.
Mistake #3: Using Low-Quality Paint
It is tempting to save a few euro on the tin — it is usually the biggest single cost, after all. But the paint you choose has more influence on the final result than almost any other decision, and cheap paint is a false economy that costs you more in the end.
How Paint Quality Changes the Result
Better paint simply performs better. Quality emulsion has higher pigment and better binders, so it covers in fewer coats — often two where a budget tin needs three — and it holds up far longer against fading, scuffing and washing. Over the life of the job, the premium tin frequently works out cheaper once you count the extra coat, the extra time and the earlier repaint the cheap one forces on you.
Budget paint tends to disappoint on every front: thin coverage that needs more coats, weak adhesion that leads to peeling and bubbling, and colour that fades quickly once the sun gets at it. In rooms with big south-facing windows, that fade can show within a year.
How to Recognise Quality Paint
When you are standing in the shop, look for these markers of a good product:
- Pigment concentration — more pigment means richer colour and better coverage per coat.
- Binders — quality binders are what make the paint grip the surface and resist wear.
- Durability — a paint you can wipe and scrub without dulling the finish is a good one.
- Viscosity — the right thickness lets it lay on smoothly without running or dripping.
Match the paint to the room, too. High-moisture spaces like bathrooms, utility rooms and kitchens need a mould- and mildew-resistant finish — again, worth its weight in Dublin’s damp. If you are painting joinery, doors or kitchen cabinets, you’ll want a hard-wearing eggshell or satinwood built for surfaces that get touched every day, not standard wall emulsion. Choose well here and you dodge one of the most expensive DIY mistakes there is.
Mistake #4: Incorrect Painting Techniques
Anyone can load a roller and push paint onto a wall. Doing it so the finish looks even, crisp and drip-free is a genuine skill — and poor technique is what gives so many DIY jobs that tell-tale amateur look.
Brush and Roller Technique
Start with the right tool. For cutting in — edges, corners and the lines along the ceiling and skirting — an angled sash brush gives you the control to hold a straight line. Wider, straight-edged brushes suit larger flat sections like door panels.
For rollers, the nap (the depth of the pile) has to match the surface. Too short on a rough wall and you miss the texture; too long on a smooth wall and you leave an orange-peel finish. Use this as your guide:
| Surface texture | Recommended nap length |
|---|---|
| Smooth (plaster, skimmed walls) | 6–10 mm (¼”–⅜”) |
| Medium | 10–13 mm (⅜”–½”) |
| Rough (textured, masonry) | 13–19 mm (½”–¾”) |
Don’t overload the roller — a dripping roller is a mess waiting to happen. Load it evenly, roll off the excess on the tray’s ramp, then lay the paint on the wall in a loose “W” or “M” shape before filling the gaps with steady parallel strokes. That spreads the paint out first and gives you even coverage without heavy pooling in one spot.
Avoiding Drips and Uneven Coats
Consistency is everything. Don’t lean hard on the brush or roller — pressing squeezes out excess paint and creates runs. If a drip does appear, brush it out straight away while it is still wet; once it skins over, you are into sanding it back.
The other key habit is keeping a wet edge. Always work back into the paint you have just laid down while it is still wet, rather than letting one section dry before you meet it with the next. Overlap a wet edge and the strokes blend invisibly; let it dry and you get a hard line where the two sections meet. Master this and the difference between your work and a professional’s shrinks to almost nothing.
Paint in the Right Order
One quiet technique mistake trips up more first-timers than any other: painting things in the wrong order. The professional sequence is ceiling first, then walls, then trim and woodwork last. Working top-down means any splatter from the ceiling lands on walls you haven’t finished yet, and leaving skirting, architrave and door frames until the end lets you cut a clean line against a wall that is already dry. Do it the other way round — trim first, ceiling last — and you’ll be forever fixing drips on finished surfaces. It costs nothing to get the order right, and it saves hours of touching up.
Mistake #5: Lack of Patience
Patience is the most undervalued tool in DIY decorating. Painting is a job that punishes rushing — and the urge to get it finished in one go is exactly what compromises so many otherwise decent jobs.
Respect the Drying Time
The gap between coats is not optional downtime — it is part of the process. Each paint type and brand has its own recommended recoat window, and it shifts with temperature and humidity (a cold, damp Dublin room dries far slower than the tin’s ideal conditions). Ignore it and you invite trouble.
Use these as a baseline, but always check the tin:
| Paint type | Minimum drying time before recoat |
|---|---|
| Water-based (emulsion) | 1–2 hours |
| Oil-based | 6–8 hours |
| Primer / undercoat | 1–2 hours |
Letting each coat dry fully before the next matters because the layer underneath needs to have properly set and bonded. Recoat too soon and the fresh paint drags at the soft layer below, and you undo the work you just did.
The Risks of Rushing
Push through too fast and you invite a cluster of problems:
- Drips and streaks — a wet first coat gets pulled and dragged by the roller on the second.
- Peeling — recoating too soon traps moisture between layers, and that peels off down the line.
- Uneven colour — without full drying, the coats blend unevenly and the shade looks patchy.
Doing it properly pays off every time. And patience isn’t only about waiting for paint to dry — it is about taking the time to prep the space, apply each coat with care, and clean up properly at the end. If the honest answer is that you don’t have the days it really takes, that is exactly the point where bringing in a professional stops being an expense and becomes the smart, less stressful call.
Dublin-Specific Things Worth Knowing
A few of these mistakes bite harder here than they might elsewhere, purely because of the kinds of homes and the kind of weather we have.
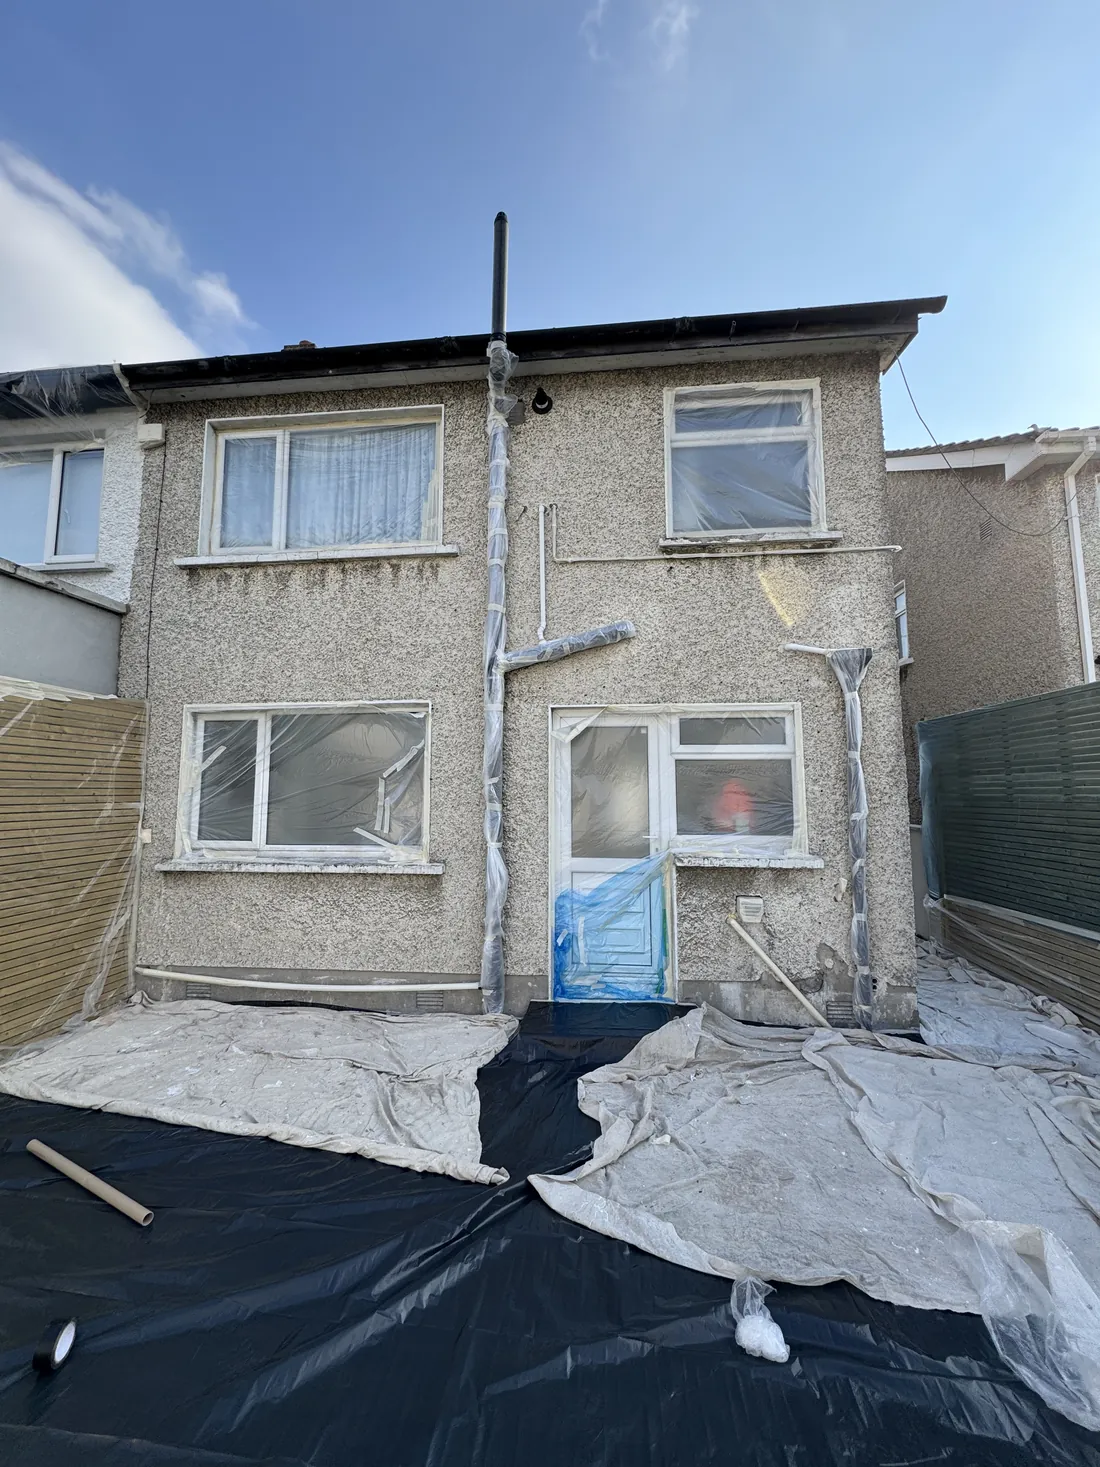
- Damp and condensation are the number one enemy. Dublin’s climate is mild but wet, and a lot of homes — especially older ones — carry background moisture in the walls. Painting over damp without dealing with the cause traps it, and the fresh coat bubbles and peels within months. If a wall is genuinely damp rather than just old, sort the source first; paint is not a cure.
- Period and Victorian homes need gentler prep. Rathmines, Ranelagh, Drumcondra and much of the city centre are full of older houses with lath-and-plaster walls, ornate coving and original timber. These reward patient filling and careful sanding rather than aggressive scraping, and the joinery often takes an oil-based or hybrid finish rather than standard emulsion.
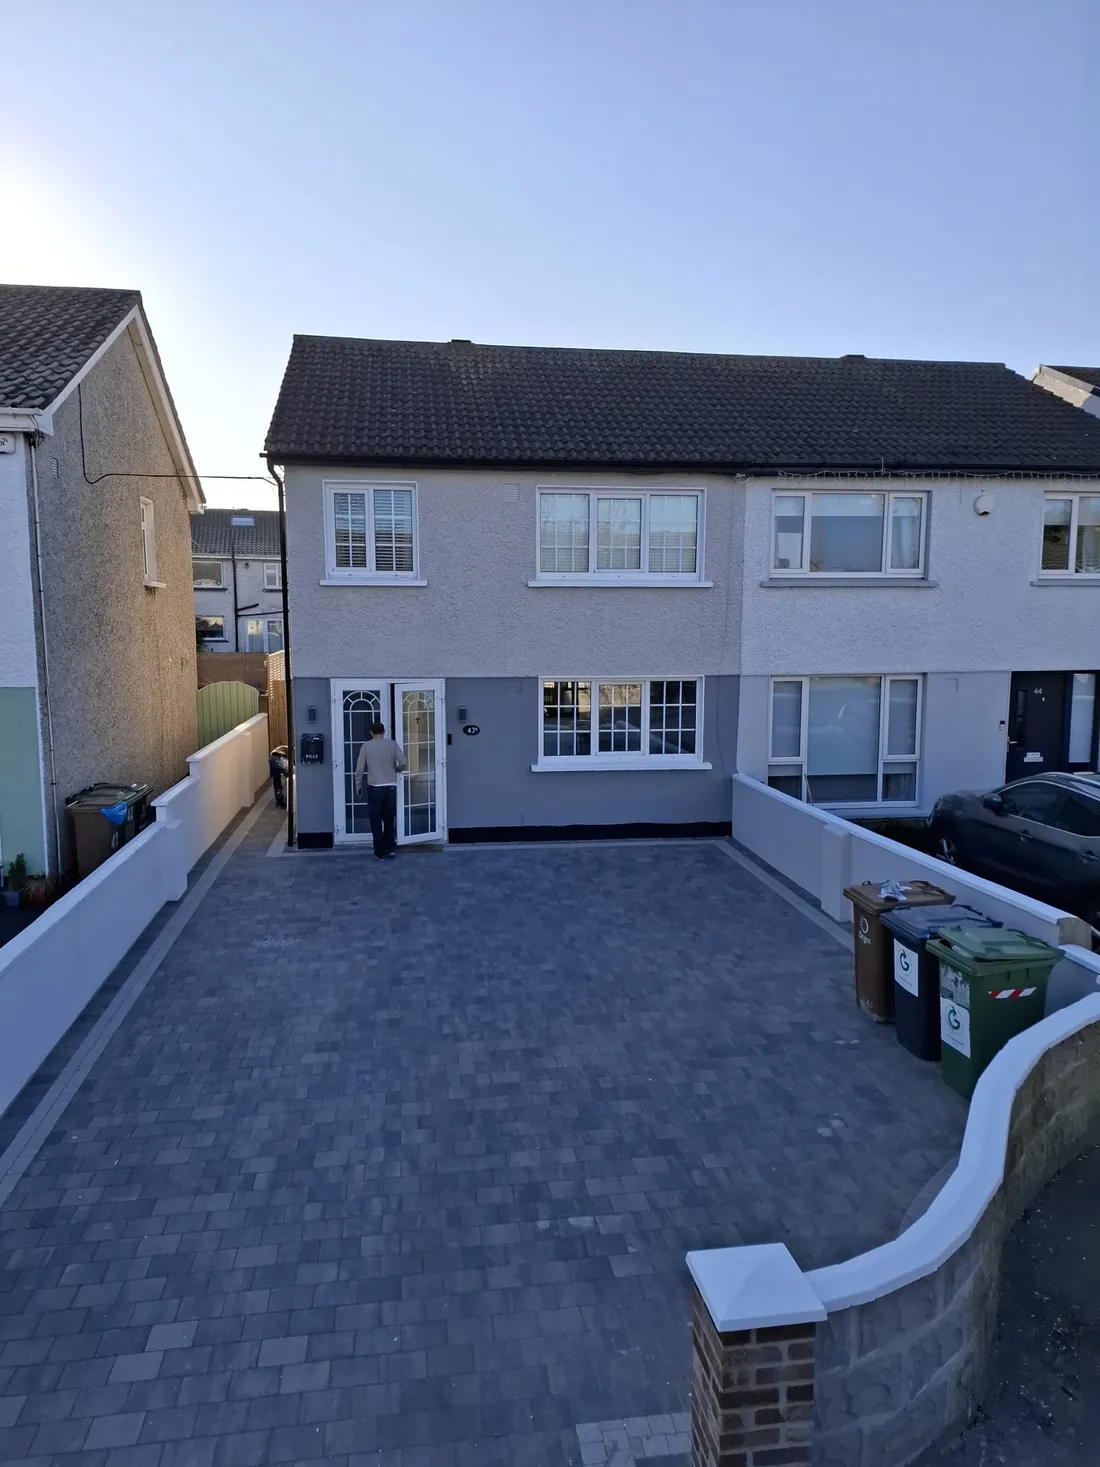
- Exteriors and pebbledash are a different job entirely. A rendered or pebbledash front needs masonry paint, a thick nap roller (or a sprayer), and a genuinely dry weather window — hard to come by here. If you are eyeing the outside of the house, read up on exterior painting before you commit, because the margin for error is smaller and the ladders make it riskier.
- North- and south-facing rooms behave differently. A colour that looks warm in a bright south-facing front room can turn cold and grey in a north-facing back room. Always test your shade on the actual wall, in that room’s light, at different times of day before you buy the big tins.
None of this is meant to put you off — it is simply the local context that turns a good general guide into one that actually works for a Dublin home.
Best Practices for a Successful DIY Paint Job
Pull all of that together and a short list of good habits emerges — follow these and you sidestep almost every common pitfall.
Plan and Prepare Thoroughly
- Measure the room and work out the paint you need in litres, with a little to spare.
- Choose a colour scheme that genuinely suits the space and the light it gets.
- Write a full supply list and buy everything before you start.
- Schedule the job with the prep and the drying times built in, not squeezed out.
Sweat the Detail and the Technique
- Use painter’s tape to protect trim and pull clean, sharp edges.
- Prime first for even colour and reliable adhesion.
- Use the right brush and roller technique to avoid brush marks and roller streaks.
- Apply several thin coats rather than one thick one — thin coats dry evenly and don’t run.
Stay Patient All the Way Through
- Let the primer and every coat dry fully before the next.
- Watch for drips and thin patches as you go and fix them on the spot.
- Once you are finished, give the walls time to cure before you push furniture back against them or refit hardware.
Stick to these and DIY painting can be genuinely rewarding. And if the room is bigger, higher or more awkward than you fancy taking on — a full interior painting refresh, a weathered exterior, or a whole house repaint — that is exactly what we are here for.
When to Call in a Professional
DIY makes perfect sense for a straightforward bedroom or a bit of touch-up. But some jobs reward a professional every time: high ceilings and stairwells where the access is genuinely risky, extensive damp or cracking that needs proper diagnosis, spray finishes on cabinets and furniture, and full-house repaints where consistency across every room is the whole point.
There is a reason people call us back. We are rated 4.9 stars across 137 Google reviews, and the themes that come up again and again are the exact things DIY jobs tend to get wrong — we turn up on time, we keep the site tidy and clean, we give honest colour advice, and every job is fully guaranteed. Alex and the team have been painting Dublin homes for over 20 years, from Howth out across the county and into Kildare, Meath and Wicklow.
Whether you tackle it yourself with this guide in hand or decide it is a job for the professionals, understanding these five pitfalls is what stands between you and a finish you’ll be happy to look at for years.
If you would rather hand it over — or you just want a second opinion on the scope before you commit a weekend to it — get a free quote. It is on-site, no-obligation, and completely free. Your vision, brilliantly brought to life.
Frequently Asked Questions
What are the most common DIY painting mistakes?
The big five are poor planning, skipping surface preparation, using low-quality paint, incorrect brush and roller technique, and a lack of patience with drying times. Each one on its own can spoil the finish, and they tend to compound — rushed planning leads to skipped prep, which leads to a patchy, short-lived result.
Why is surface preparation so important before painting?
Cleaning, filling, sanding and priming are what let the paint actually grip and last. Skip them and you get peeling, cracking, ghosting stains and uneven colour within months. Prep is genuinely the most important stage of the whole job — the painting itself is the easy bit.
Is cheap paint really a false economy?
Usually, yes. Budget paint covers thinly, so you often need an extra coat, and it fades or peels far sooner — especially on sunny, south-facing walls. A quality tin with more pigment and better binders covers in fewer coats and lasts for years, which frequently works out cheaper overall.
How do I avoid drips and streaks?
Use the right brush and roller for the surface, never overload them, and roll the excess off before you touch the wall. Lay emulsion on in a “W” or “M” pattern, then fill in with even parallel strokes, and always keep a wet edge so your strokes blend instead of leaving hard lines.
How long should I wait between coats?
It depends on the paint. Water-based emulsion is generally ready to recoat in 1–2 hours and oil-based paint needs about 6–8 hours, but always follow the tin — and allow extra in a cold or damp Dublin room. Recoating too soon drags the layer below and ruins the finish.
Can a DIY paint job add value to my home?
Absolutely. A fresh coat is one of the most cost-effective ways to lift a property’s look and its market appeal, whether you are getting ready to sell or just modernising a tired room. Done well, it offers a strong return — done badly, it can put buyers off, which is all the more reason to get the five basics right.
Should I just hire a professional?
If the space is large, high, awkward, or you simply don’t have the days it honestly takes to do it properly, a professional is often the smarter call — and less stressful. We offer free, no-obligation on-site quotes across Dublin and the surrounding counties, so it costs nothing to find out what the job would take. Just get a free quote and we’ll take it from there.